# What to Photograph on Every Remodel So Your Website Shows Real Proof
Seed copy
Many remodeling websites fail not because the company lacks good work, but because the proof is too shallow. One pretty after photo is not enough. Homeowners want to understand what changed, what kind of project it was, and whether the company can handle details similar to their own home. Strong project photography helps with trust, conversion, and SEO because it turns “we do quality work” into something visible.
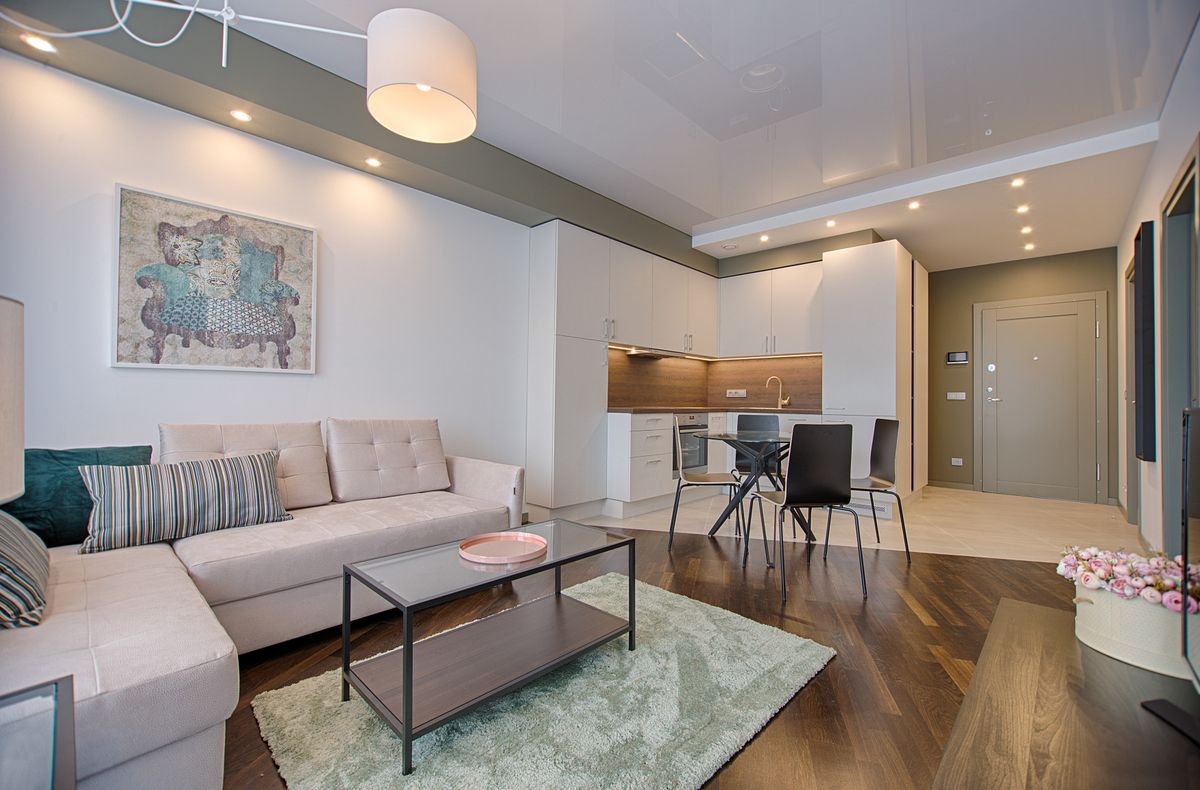
A good photography system usually starts with consistency. Take clear before shots from the same angles you plan to use after completion. Capture wide shots that explain the room, mid-range shots that show layout and material relationships, and detail shots that show craftsmanship. Include exterior approach shots when they help explain the setting. During construction, capture a small set of process photos too. You do not need to publish every rough-in image, but a few well-selected process photos can show that the company understands what happens behind the finish layer.
The most valuable photos answer homeowner questions. How did the kitchen connect to the living area? What did the vanity wall look like? How was storage improved? What kind of outdoor relationship did the remodel create? Case-study photography works best when it supports a story, not just a mood board. That is especially important for a site like Cali Dream that needs stronger proof-based pages.
This article can serve two purposes: it helps homeowners understand what real proof looks like, and it quietly gives the company an internal production checklist. That means the post is useful to readers while also improving future site assets, gallery quality, and the credibility of city pages and service pages.
Recommended structure
- Why one after photo is not enough
- Before shots, matching angles, and storytelling consistency
- Wide, medium, detail, and process shots
- Which project details homeowners care about most
- How to turn photos into case studies and city-page proof
- Basic consent and organization workflow
CTA direction
Link to the gallery and invite readers to review completed project examples.
Claude completion instructions
- Expand this seed into a polished homeowner-facing article.
- Keep the same topic, headline intent, and metadata unless you discover a clearly better version.
- Use only real internal links that exist on the Cali Dream site.
- Use the included local image file as the featured image.
- Add one useful pull-quote or highlighted takeaway only if it is original copy, not a fake testimonial.
- Do not invent review counts, awards, prices, or permit requirements.
- If you mention city-specific rules, verify them against official sources before publish.
- Remove any sentence that sounds templated, generic, or AI-fluffy.
- End with a direct service CTA pointing to Cali Dream, not financing content.
Ready to Start Your San Diego Remodel?
Get a free estimate from our licensed design-build team. CSLB #1054602.
Request Free Estimate(858) 434-7166
Next Cost And Scope Planning
Use these related guides and project examples to turn the topic above into a realistic budget, scope, and permit plan.